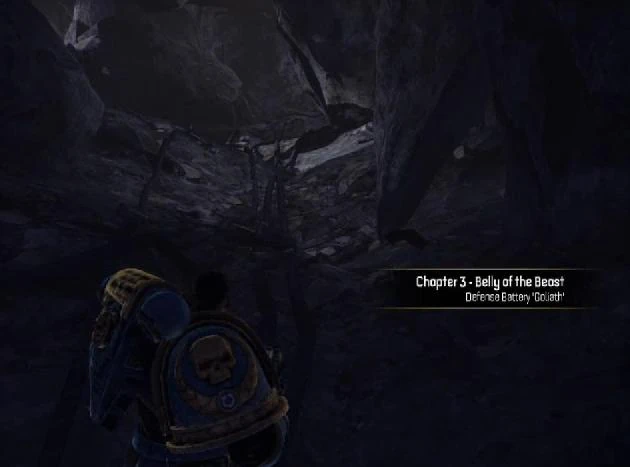
Well, this cave looks inviting, doesn't it?
This is the walkthrough for Chapter 3: Belly of the Beast of Warhammer 40,000: Space Marine.
"Into The Breach..."
In this chapter, our brave Ultramarines find and destroy that pesky Ork gun fortress in pyrotechnic fashion.
Checkpoint: Chapter Start[]
Once you lose your Jump Pack, follow the sparking power lines deeper into the cave. Keep running forward until you hit the next checkpoint.
Checkpoint: Armory[]
Once your "Enter The Gun Fortress" objective is marked as complete, move to the right and take out some Gretchin next to an ammo stash. Head to your left towards a door that just opened, and after a brief conversation, you'll get another objective: Destroy The Gun. Walk up to the Support Pod in front of you and pick up a new weapon: the Vengeance Launcher, which is basically a remote-detonated sticky-grenade launcher. Once you've picked that up, there's an optional fight with some Orks in the rafters, but you'd be better off ignoring them for now.
Head over to the door on your left (that should trigger another short conversation) and open it. There should be another door straight ahead: open that one too, triggering your first fight of the chapter. The Vengeance Launcher can help a bit, but it's probably best to stick to your standard weapons for now.
Not NEARLY enough dakka, but it'll do for now.
Once everyone is dead, the door to the armory ahead of you will open. Go inside and you'll see a Melta Bomb, which you will eventually use to bring this entire fortress to its knees. There's also a few ammo and grenade stashes inside. After a scripted conversation with Leandros and Sidonus, go back through the door you came, where a huge number of Orks will have magically spawned during the time you and your comrades were talking. Since they like to group together, now is a much better time to whip out that Vengeance Launcher. A seemingly endless wave of Shoota Boyz, Gretchin and Slugga Boyz will come at you. Kill them all and merrily proceed down the hallway until more Orks spawn on your left. Kill them all too, and then you'll hit a checkpoint.
Checkpoint: Shell Storage[]
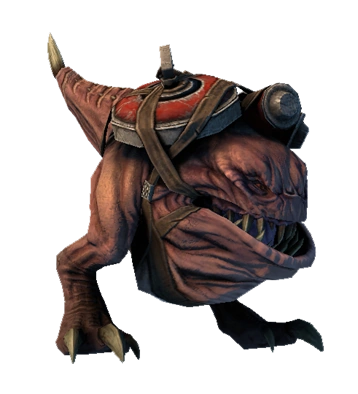
The Bomb Squigs can be extremely annoying, but only if you let them.
Near where the last batch of Orks spawned, there should be a lift. Activate it and ride down to the lower floor. A voice should notify you that access to the upper decks has been restricted. When the elevator opens, another small squad, mostly Shoota Boyz, will come and meet you. Deal with them how you wish.
The hallway continues to the right of the elevator, so run down that path until you encounter more Shoota Boyz sniping at you from afar. Whip out the Stalker Bolter and take care of them, too. After a while they'll send Bomb Squigs after you too, so make sure you can quickly switch to the Bolter to take care of them as well. Once everyone is dead, proceed to the end of the hall and activate another door. Still more Orks lie waiting to be slaughtered, but this time you will have to deal with a group Pro Slugga Boyz, who can be quite intimidating. However, on lower difficulties, a Shoulder Bash combo (![]()
![]()
![]() /
/![]()
![]()
![]() /
/![]()
![]()
![]() ) can stun them, allowing you to Execute them.
) can stun them, allowing you to Execute them.
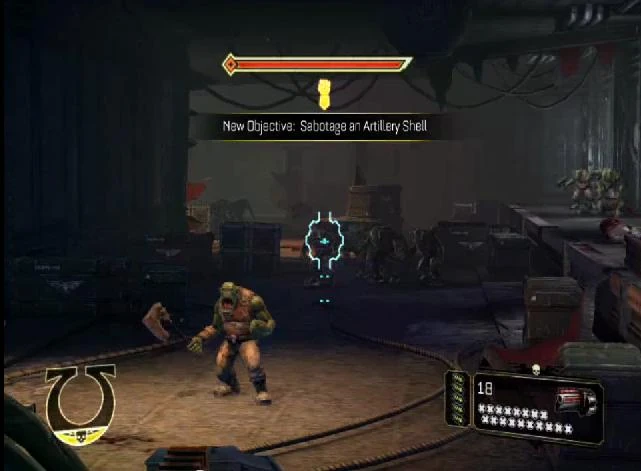
Once everyone's dead, you need to bring up an artillery shell from the loader at the end of the hall, and place the Melta Bomb charge from earlier on it. Press ![]() /
/![]() /
/![]() to activate the loader, then walk up and do the same to the shell, then push it into place. Once you've done that, head back to the lift.
to activate the loader, then walk up and do the same to the shell, then push it into place. Once you've done that, head back to the lift.

|
Checkpoint: Loading Chamber[]
Another group of Orks will ambush you as you head back to the lift. Kill them. Once you've opened the door to the lift, a Slugga Nob and four Shoota Boyz will attack. Dispatch them as well, and head onto the lift and take it all the way to the top. The next hall has plenty of ammo, should you need it; after collecting it, open the door on the other side.
As you might have guessed, plenty of conspicuous ammo means yet another large-scale fight. The first wave is just a group of Gretchin and Slugga Boyz, nothing you haven't dealt with before. Once some Shoota Boyz join the fight, focus on ranged attacks and keep your distance. The door at the end will open once you've killed all the Orks.
Once you've entered the door, follow the right-side path and take your first right to find another ammo stash. Turn around, take a left and another left to reach your next objective, the secondary lift. Take the lift. More Gretchin await you at the top, so get rid of them. To your left is another Support Pod with a Purity Seal inside: collect it to unlock your Marksman Mode, a Fury upgrade. Marksman Mode allows Titus to lay down precision ranged fire by slowing down time when using Aim (hold down LT/L1/MMB/LCtrl), while Fury mode is active. The door a bit behind the Support Pod should open; run inside to trigger a minor fight. Use this opportunity to fill your health bar if necessary.
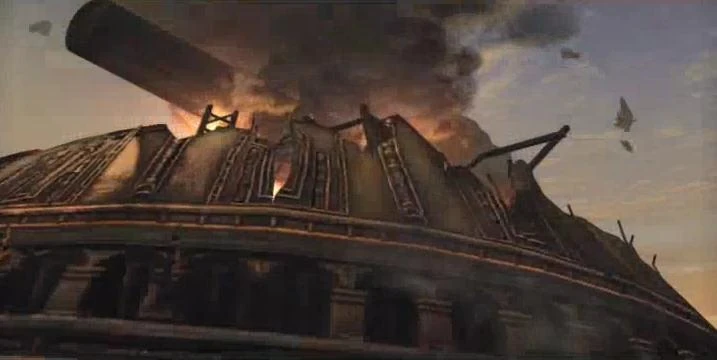
The gun barrel meets an untimely end.
Once they're dead, your team realizes that the Orks have taken out the booby-trapped shell. Titus tells Leandros to put the shell back into the loading mechanism. Now you'll have to protect Leandros as he pushes the shell carrier back into place, all the way across the floor. Use Marksman Mode to your advantage as you hold back the waves of Gretchin and Slugga Boys, with a Slugga Nob coming in at the very end. There will be some Bomb Squigs, which can get pretty dangerous if you don't pay attention. At a distance, look for the Bomb Squigs' burning fuses and shoot them early, when they are still packed in among groups of Ork Boyz, which also eliminates significant portions of the close combat threat. Once they're all dead, run towards the marked area, and this chapter comes to an end.
- On Hard, this fight can be a bit difficult, as the Shootas and Sluggas are both quite capable of killing you quickly. When it begins and the first Shootas appear, use the Stalker Bolter to snipe as many as you can (preferably with headshots) before the melee opponents appear. Always watch for more Shootas appearing on the upper level and take appropriate action. Prioritize eliminating Shoota Boyz first. If there are any Shootas still alive, withdraw behind the corner to kill the Sluggas so you won't be shot dead during close combat. Before they engage you in melee, the mobs of Sluggas can be thinned out considerably by picking off Bomb Squigs in their midst, combined with liberal use of your own explosives. Ensure that you are not taking Shoota fire when the Nob shows up, and deal with it in your preferred manner (headshots, grenades and/or repeated melee interrupt stuns). Alternatively, the Nob is quite easy to kill with Vengeance rounds, as the explosions will stop his advance. Just keep sticking them on him and detonating them.

|